Any traveler who’s ever felt overwhelmed by guidebooks or tourist traps will appreciate the power of a custom city tour using Google Maps. This tool gives you the freedom to craft your own adventure—from street food walks to historic neighborhood arcs—all tailored to your tastes. Best of all, it’s shareable, interactive, and even works offline. In this guide, we’ll show you how to design, refine, and enjoy an itinerary crafted just for you.
1. Why a Custom City Tour Using Google Maps Works Better
Most guidebooks offer standardized routes, but a custom city tour using Google Maps enables personalization at every turn. You get to select locations that resonate with your interests—be they vintage bookstores, hidden murals, or specialty coffee shops. Additionally, it’s a living document: if a new recommendation pops up, you can instantly drop it into your route. This dynamic control offers unmatched flexibility compared to static itineraries.
Another benefit is the level of detail you can add. Each pin isn’t just a location—it’s a bookmark packed with info: links, photos, notes, and even business hours. You can layer your map to separate days, themes, or transportation modes. Even offline, once downloaded, it behaves like your personal GPS guide, saving you data while ensuring you never lose your way .
2. Step 1: Set Up Google My Maps From Scratch
To begin, log in to Google on desktop, go to Maps → Your Places → Maps → Create Map. Titled maps make a world of difference—something like “Lisbon Chill Walk” or “Tokyo Midnight Food Crawl” gives you direction before you even start. Include a short description to note your theme (e.g., “10 hidden tapas bars”).
Next up: layer setup. Go beyond one map—add layers titled “Morning Walk,” “Afternoon Museums,” or “Dinner Spots.” This organization lets you toggle tracks easily. Whether traveling solo or with friends, these layers help streamline planning and execution .
3. Step 2: Pinning Perfect Spots with Details
Begin dropping pins for locations you want to include. Let’s say you’re in Rome: start with the Pantheon, insert a note to “arrive early to stash bags,” add photos for easy recognition. Don’t just rely on public markers—use the manual pin tool to highlight off-menu restaurants or street art pieces mentioned in blogs .
Customizing pins with icons and colors is both aesthetic and functional. For example, use a red coffee cup icon for espresso stops, blue binoculars for lookout points, and yellow museum icons. You can even label recurring pins—emoji + English—for speed reading when you’re offline .
4. Step 3: Draw Your Traveling Route
After pinning, plot a route. Click the line tool and choose your mode—walk, bike, or drive. Connect your route in the order that makes sense. Whether you want a sunrise loop or a food crawl that crescendos in the evening, this control is key .
Routes can live on separate layers making it intuitive to track multiple days: “Day 1 walk” and “Day 2 ride.” Ordering prevents backtracking and minimizes travel time. You can even adjust the route in real time if it conflicts with local weather or transport hiccups.

5. Step 4: Organize, Style & Make It Intuitive
Layer clarity is essential: name them meaningfully (“History,” “Eat,” “Viewpoints”). Toggle types of locations on or off depending on your mood. The ability to filter locations makes exploration feel effortless when daylight is short or when odds are high you only have a couple of hours .
Add a personal spin: choose a suitable map style (e.g., dark theme, terrain, or pattern). Then, assign each pin a distinctive color or emoji, and rename with short notes (“sunset view? open till 9pm”). The result is a visual travel companion that doubles as an itinerary planner .
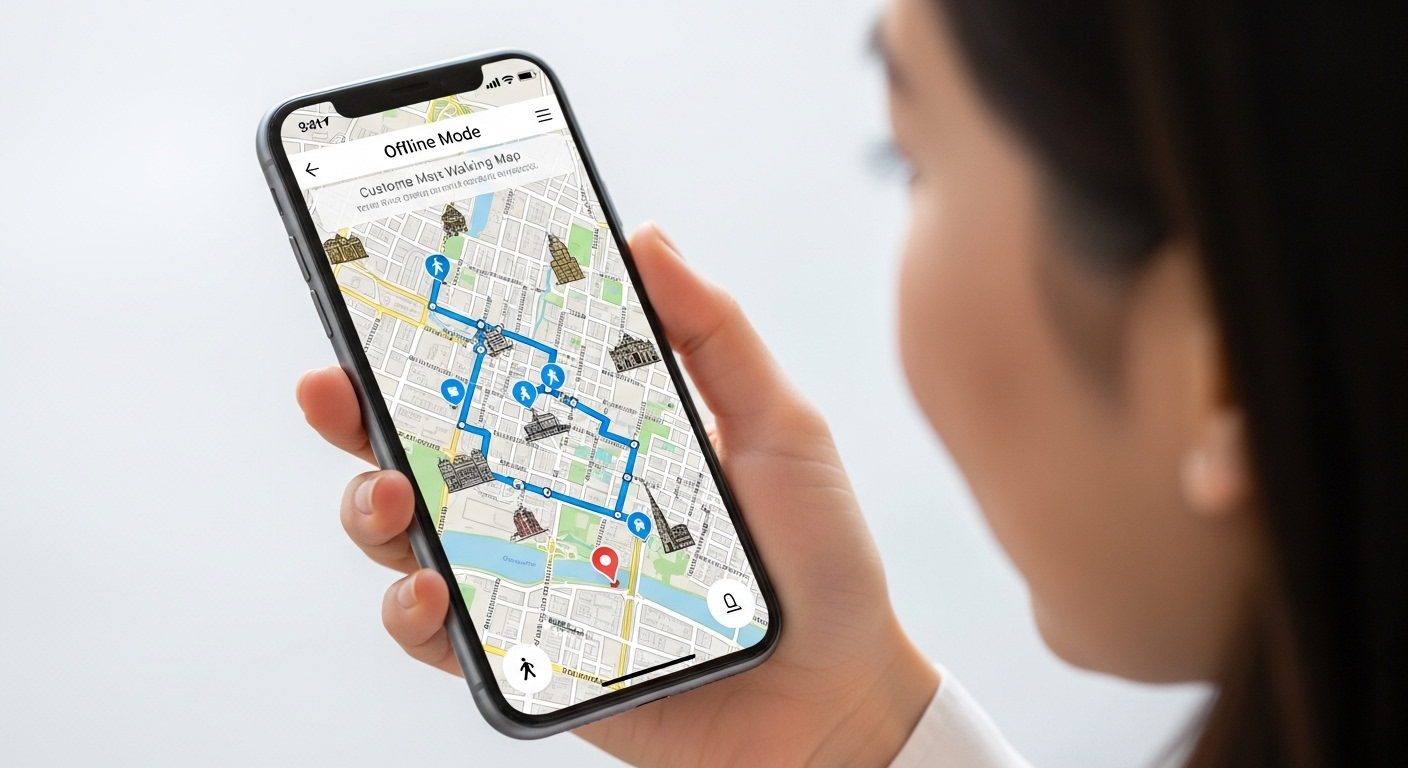
6. Step 5: Prep Offline & Share Results
No internet? No worry. In the Google Maps mobile app: go to Saved → Maps → Recycler download—you can select your custom map. This ensures you have your pins, routes, and notes without roaming data .
Share editing or viewing rights with travel companions. Link it in group chats or embed it in trip planning docs. Collaborative maps speed group planning, help split day duties, and create shared excitement before the trip begins .
7. Bonus Tips: Add Maps for Efficiency and Fun
Stick to 5–7 stops per day—it avoids exhaustion and allows serendipity. Leave time for side adventures like street market stalls or scenic detours. Also, importing community maps (KMZ/KML files of street art or local cuisine) gives a fresh layer to your custom city tour using Google Maps .
Use short names with emojis, set waypoints under restaurants for 30-minute coffee stops. A map that feels organic and flexible is more likely to be used—and remembered.
8. Traveler Voices: Real Experience, Real Tips
A Reddit user stated:
“I always build layered Google Maps for every trip. It’s super helpful not flipping through guidebooks.”
Another loved the offline utility, saying:
“The icons help me quickly pick what I want to do when I have short time between flights.”
The consensus? A personalized map means smarter travel, pace control, and deeper engagement than impulsive online browsing.
Ready to create your first custom city tour using Google Maps? Pick a city, a theme, and start pinning. When your map’s ready, post a link or screenshot in the comments below—your creative ideas could spark someone else’s dream trip. If you love smart, hands-on travel tools, follow us on social media—each week we reveal DIY guides, mapping hacks, and insider tips to help you travel smarter and more fully.
Catch up on the top stories and travel deals by subscribing to our newsletter!