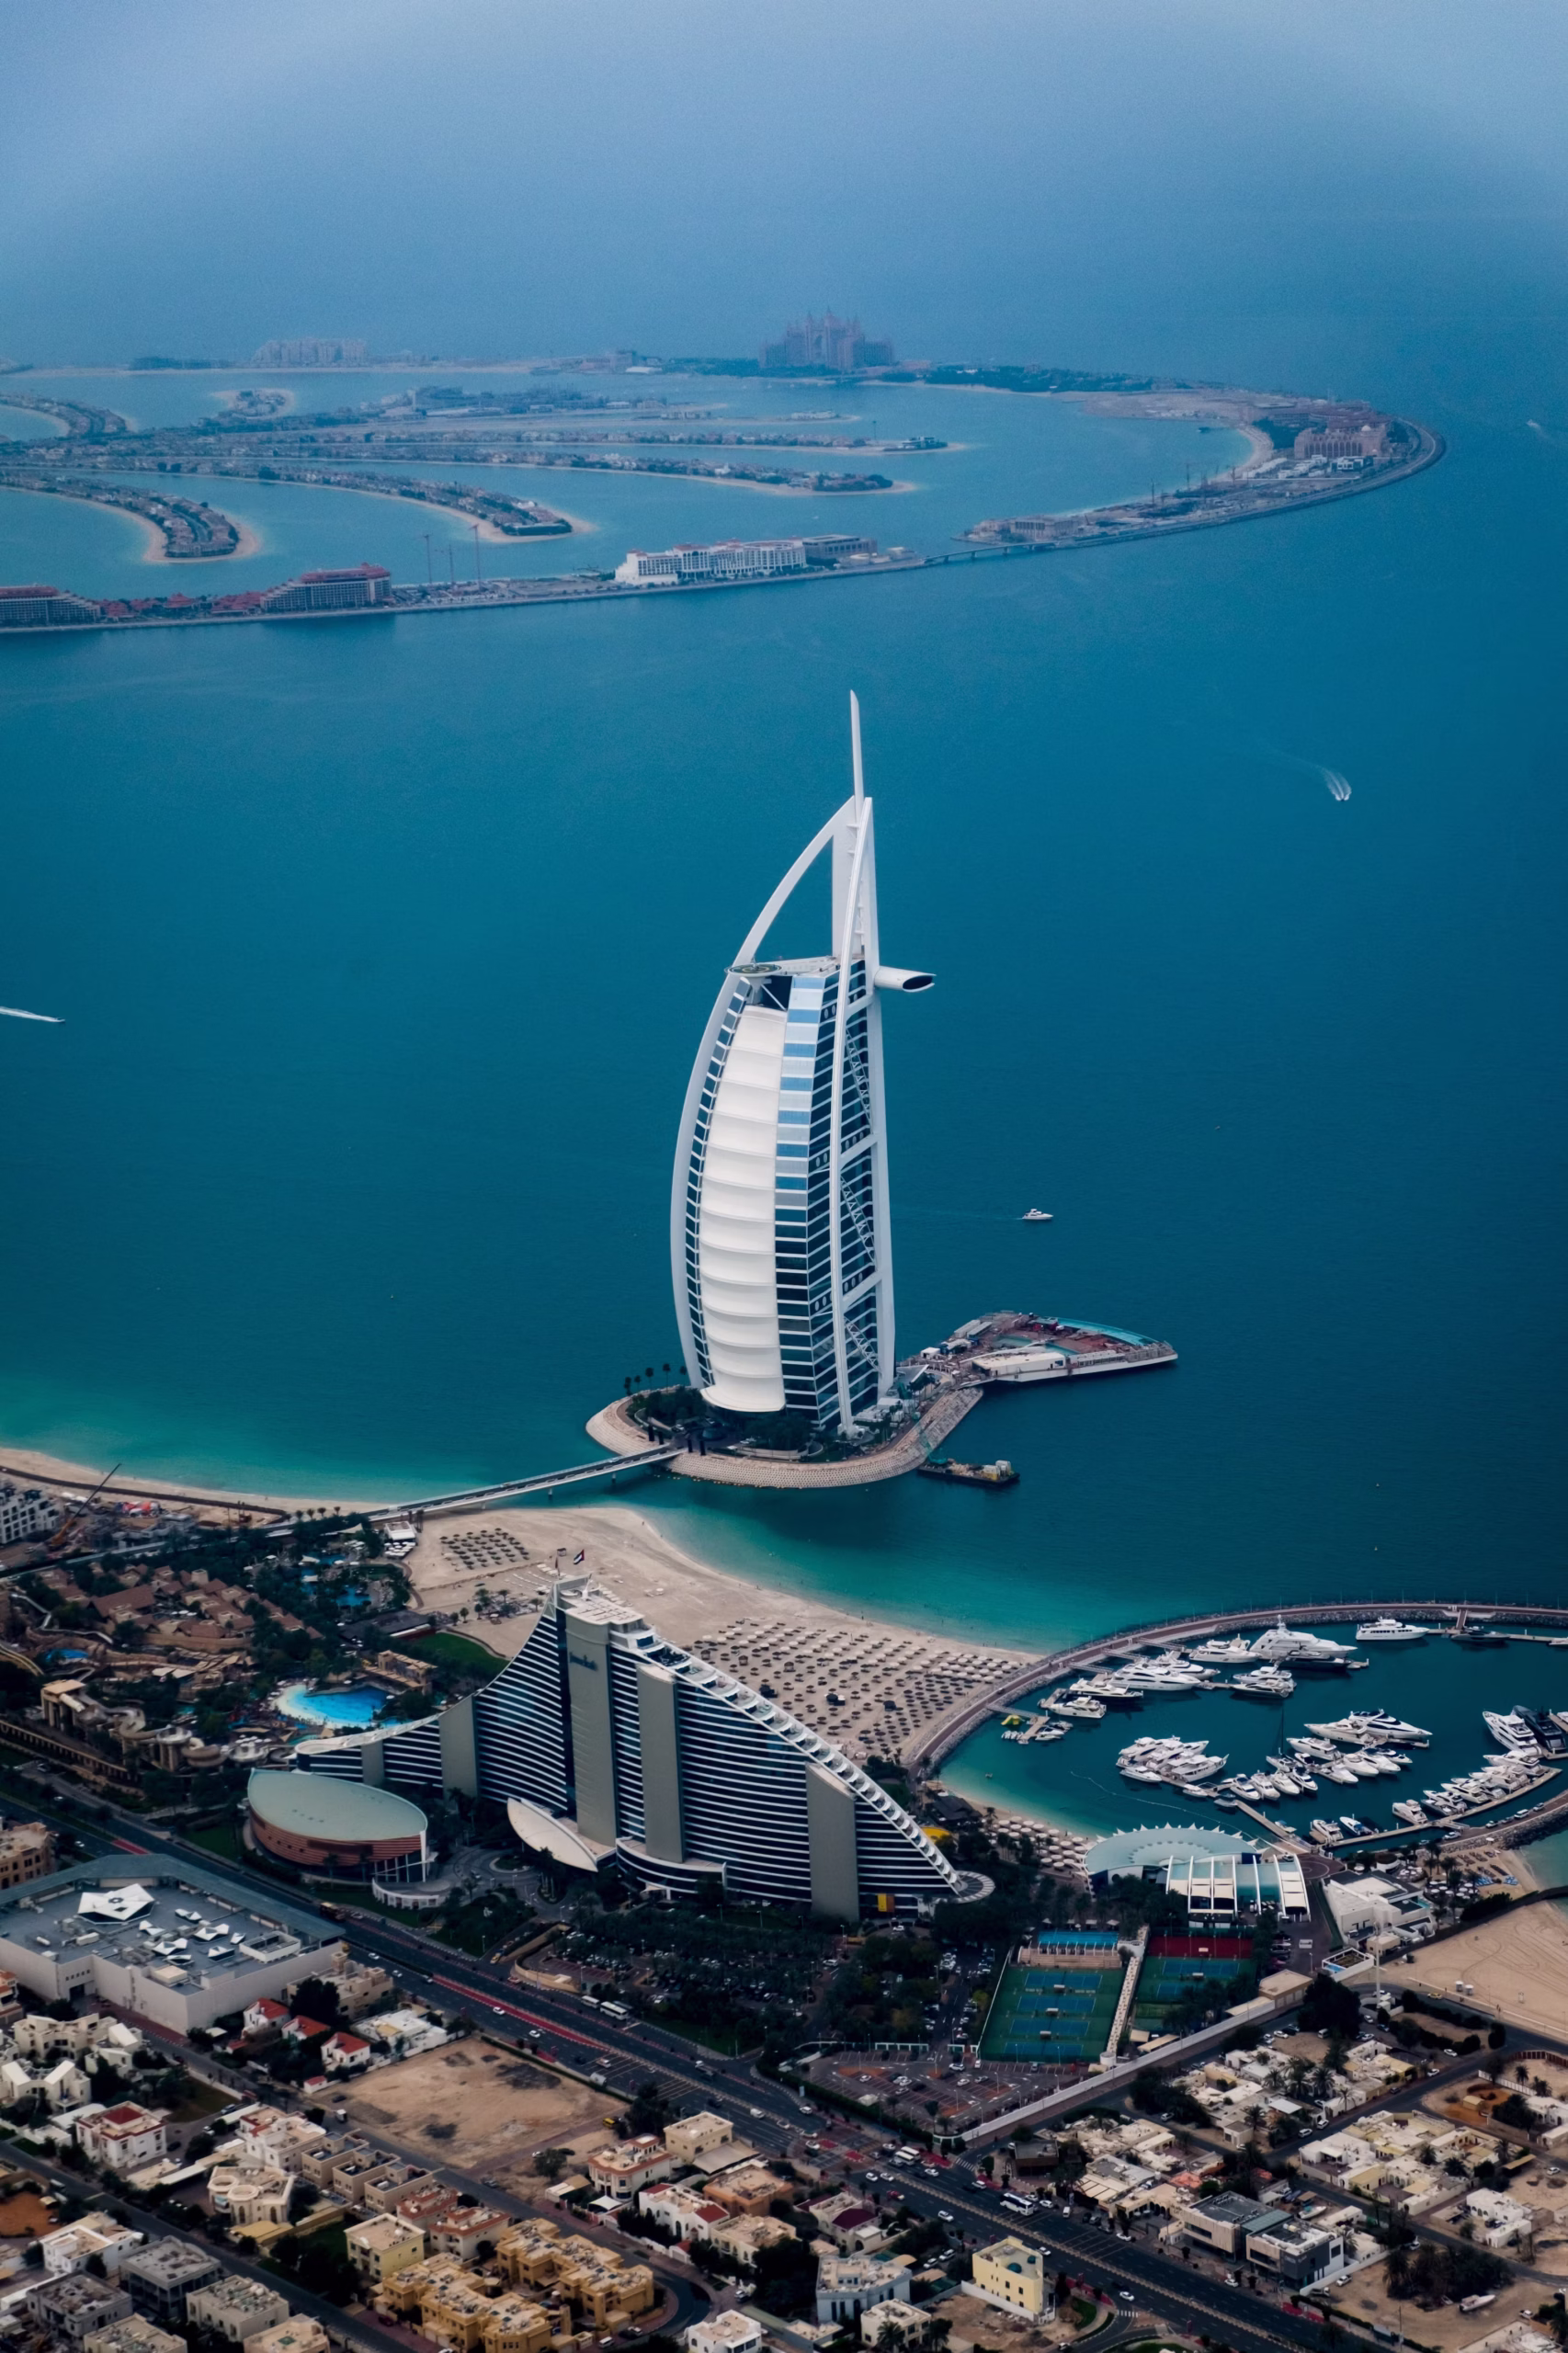
Simple Yet Powerful Travel Photo Editing Tricks
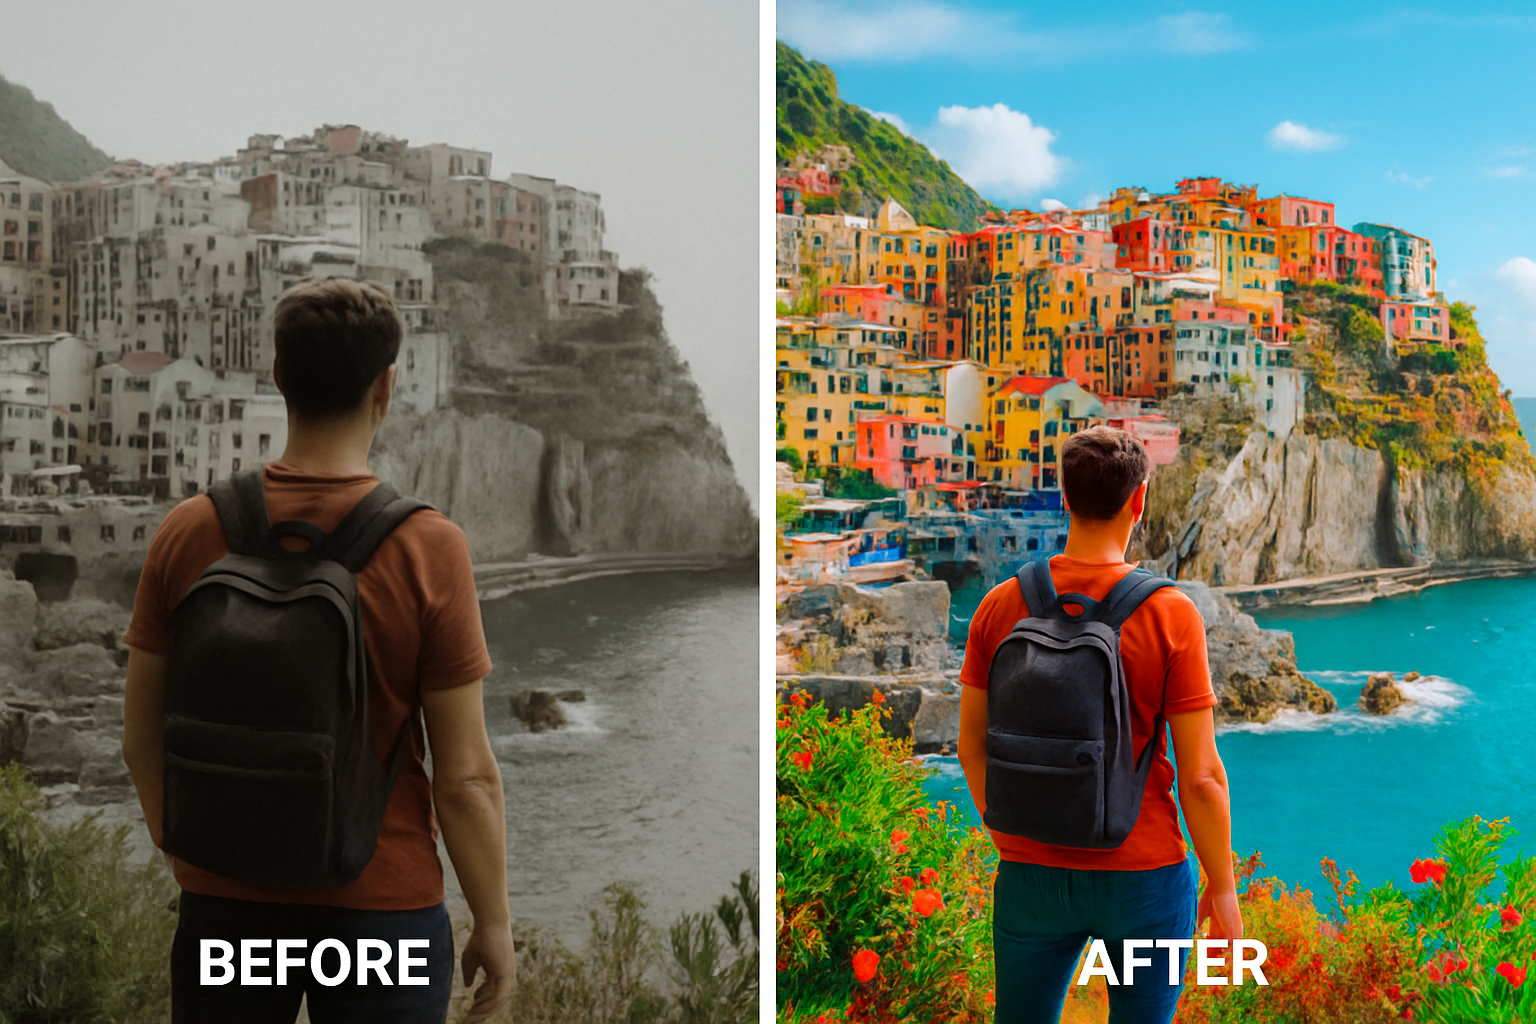
You know that feeling when you scroll back through your travel photos and think, “Huh, it looked way better in real life”? Yeah, we’ve all been there. Maybe the colors look a little dull. Maybe the moment doesn’t feel quite as magical. But here’s the good news: you don’t need to be a professional photographer—or even own a fancy camera—to make your photos stand out. All you need are a few simple Travel Photo Editing Tricks that anyone can master.
I still remember my first trip where I thought my photos would blow everyone away. Instead, they looked flat, lifeless, almost like someone else’s memories. That’s when I realized—capturing the magic of travel isn’t just about clicking at the right time. It’s about knowing how to bring those moments back to life later. It’s like adding seasoning to a good meal. Without a pinch of salt or spice, even the best dish can fall flat. Your travel photos deserve that extra flavor too.
Pick The Right App And Stick With It
First thing’s first: pick an app that feels like your creative sidekick. I swear by Snapseed for most things because it’s insanely powerful and free. Some of my friends swear by VSCO for those dreamy, creamy tones. And if you’re feeling fancy, Lightroom Mobile is like having a mini studio in your pocket.
It’s tempting to download ten apps and get lost in a sea of sliders. But honestly? The best move is to pick one, learn it inside out, and edit with confidence. Trust me, you’ll spend less time tapping around and more time creating those jaw-dropping travel shots.
Fix The Basics Before You Get Fancy
Before you start slapping on filters or doing anything wild, fix the basics. Brightness, contrast, sharpness—those tiny tweaks make the biggest difference. If your photo feels dark and sad, bump the exposure a little. If it feels flat, add a tiny bit of contrast to wake it up. Sharpness? Use it like a sprinkle of glitter—just enough to make things pop without turning your photo into a weird painting.
And hey, don’t forget to straighten your horizons. Tilted beaches and crooked city skylines mess with your vibe more than you realize. Apps usually have a “straighten” tool tucked into the crop menu. Your future self (and your Instagram followers) will thank you.

Play With Color Like An Artist
Here’s where the fun begins. Color is everything. It changes the entire mood of a photo. You can make a busy market feel vibrant and buzzing or a mountain lake feel lonely and serene—just by adjusting color tones.
Temperature sliders are your best friend. Slide a little toward warmth for sunsets and cozy cafés. Cool it down for misty forests or urban winter shots. Saturation? A little boost makes your greens greener, your blues bluer, but don’t overdo it unless you want radioactive trees. Tiny tweaks are your secret weapon.
For inspiration, I love browsing Unsplash. You’ll notice top photographers use color to set the mood without screaming “heavily edited!” It’s subtle, emotional, beautiful.
Crop Like You’re Telling A Story
Sometimes a good photo is hiding inside a “meh” photo, just waiting for the right crop. Cropping isn’t about losing parts of your shot. It’s about focusing the viewer’s eye. Remove the random stranger half-walking into your frame. Get rid of that ugly trash can in the corner. Pull the magic front and center.
Remember the Rule of Thirds—placing your subject slightly off-center can make a shot feel way more dynamic. And don’t be afraid of negative space. Sometimes leaving breathing room around your subject makes your photo feel epic and intentional.
Use Filters Wisely, Not Lazily
Ah, filters. The guilty pleasure of editing. We’ve all been tempted to throw a heavy filter over a bad photo and call it a day. But real talk? Filters should enhance, not hide.
Use filters like seasoning—just a pinch. Apply a filter, then dial it way down to about 30-50% intensity. Suddenly your photo looks richer and moodier, not fake and overcooked. Apps like VSCO and Snapseed let you tweak filter strength, and trust me, using that slider makes all the difference.
Want examples? Check out @worldwanderlust on Instagram. Their photos feel dreamy and consistent, but still authentic. That’s the sweet spot you want.

Tiny Tweaks Make Massive Impact
Never underestimate the little things. Straighten your shot. Remove a weird shadow. Brighten your subject’s face. Boost a bit of texture so sand dunes feel like you could reach out and touch them.
Editing isn’t about making things fake. It’s about making people feel something. About letting your memories hit them in the heart the same way they hit you when you stood there, mouth open, marveling at how beautiful the world can be.
So go ahead—play, experiment, tweak. Trust your instincts. With just a few Travel Photo Editing Tricks, you’ll turn good photos into unforgettable ones. And that? That’s pure magic.
Got any editing hacks you swear by? Or maybe a favorite “before and after” story from your travels? Share it in the comments! We’d love to swap secrets. And hey, follow us on WentWorld socials for more travel inspo, editing tips, and maybe even a few editing challenges.
Catch up on the top stories and travel deals by subscribing to our newsletter!